


I recently added dark mode to my portfolio website. Yeah, because why not? All the cool kids are doing that! But I'm not gonna lie, I was overwhelmed at first. After I made that decision, I started out by reading about the number of ways I can add this functionality in my website. I read articles and blogs in various websites like css-tricks. And I got even more overwhelmed after realizing that there are so many ways we can do this. But I decided to go with "class toggling" method with the help of JavaScript, as it made more sense to me. So first I decided to start small. I made a very simple HTML page, and added some styling, then used JavaScript to change the color mode.
And bam! It cleared everything, now I was ready to play with some code. The only trickiest part was the JavaScript local storage. Local storage was important because I wanted dark mode to be persistent even after user reloads the page, or visits another page. It took me the longest to figure out. But don't worry, I'll try to explain it in easiest way possible, so that you can add it in your website as well.
The first important step is to use CSS variables for colors. It is a good practice, and also makes your code more readable as well as more manageable. If you don't know how to use CSS variables, here's the link for a guide. You can also use CSS variables for many more properties like fonts, units etc. But here, we'll only be talking about colors.
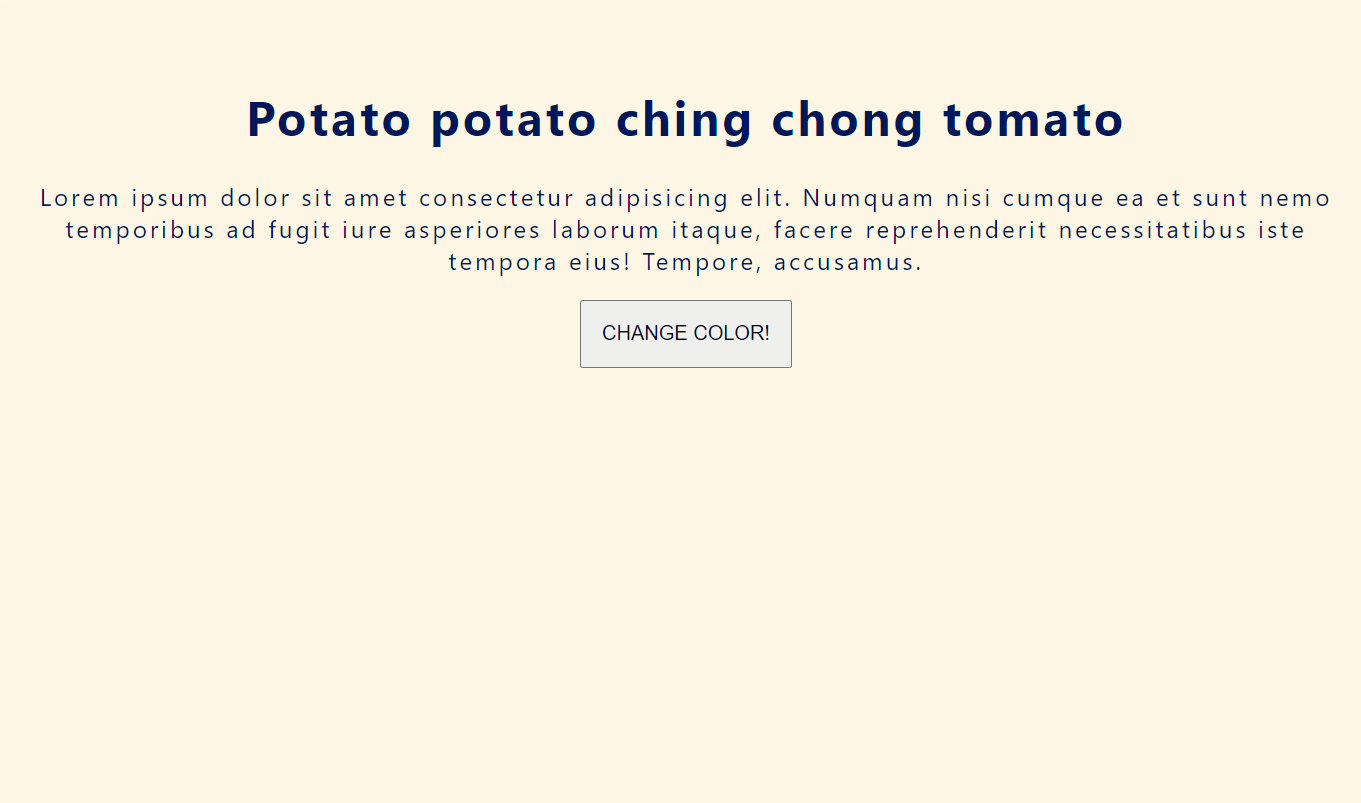
This is how I had set the colors in my portfolio, using CSS variables:
:root {
  --primary-color: #fef6e4;
  --secondary-color: #8bd3dd;
  --tertiary-color: #f582ae;
  --tertiary-dark: #cc5d8a;
  --heading-color: #001858;
  --para-color: #172c66;
  --shadow-color: rgba(0, 0, 0, 0.25);
}

.dark-mode {
  --primary-color: #232946;
  --secondary-color: #494e6e;
  --tertiary-color: #cc5d8a;
  --tertiary-dark: #cc5d8a;
  --heading-color: #fffffe;
  --para-color: #b8c1ec;
  --shadow-color: rgba(0, 0, 0, 0.5);
}
You can name your variables anything you want, and just use them like this : background-color: var(--primary-color).
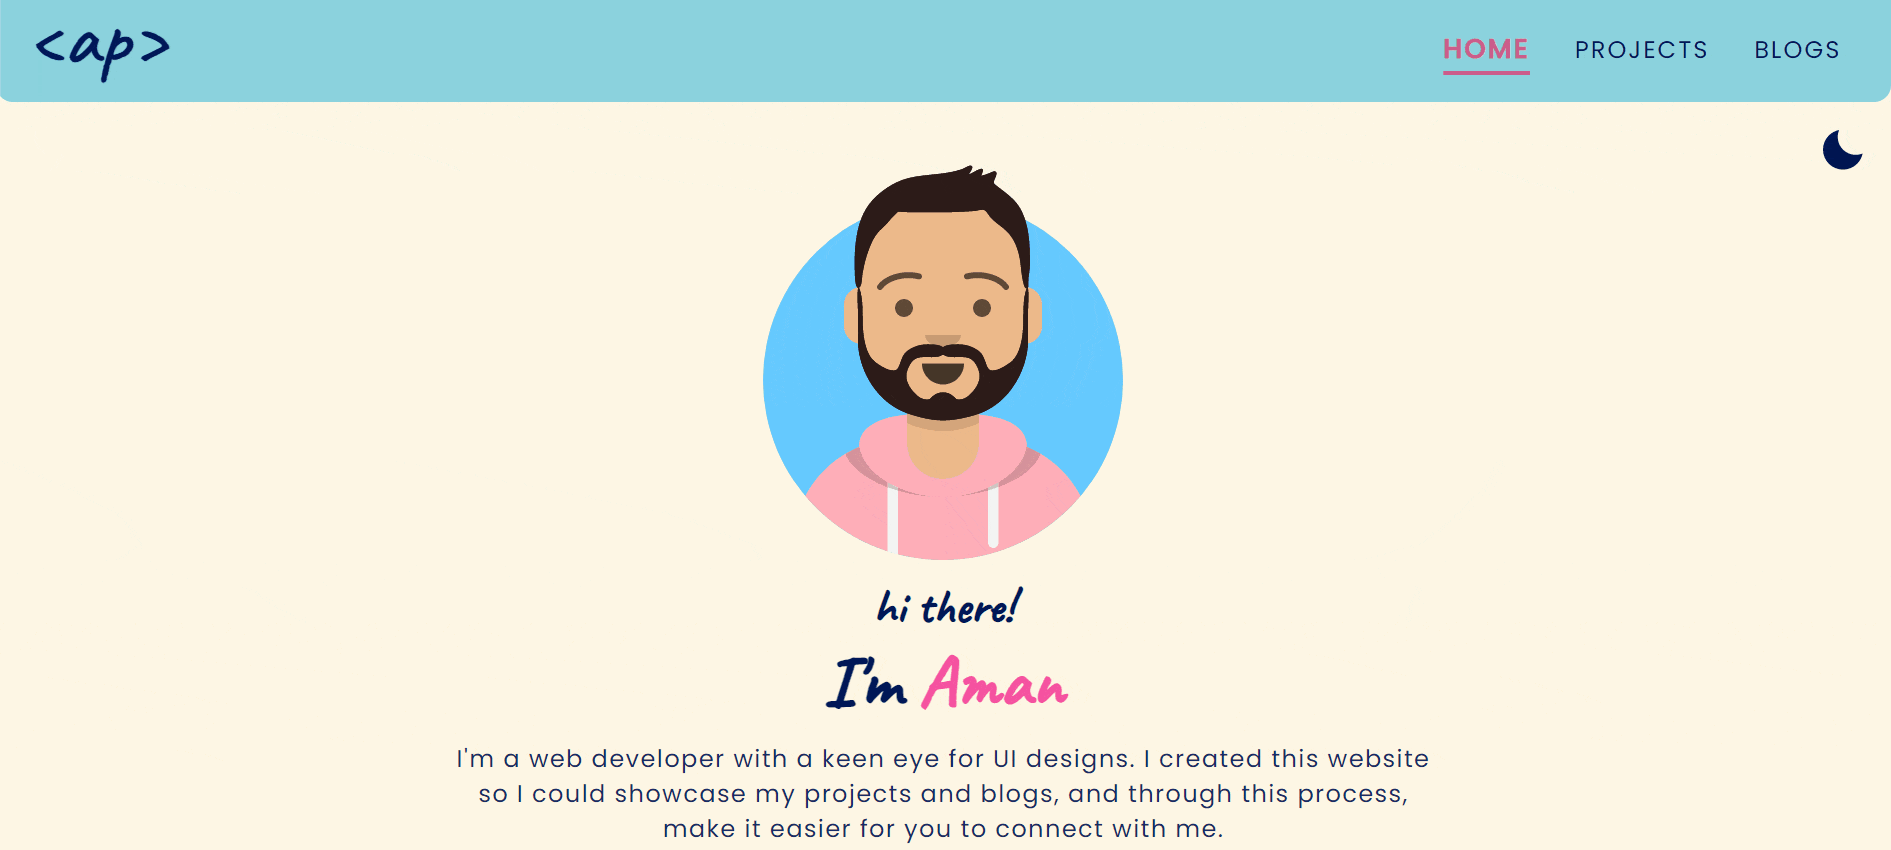
This will give you the background color of your primary-color variable. Keep in mind that I kept the dark-mode optional, so the default color of my website was light. Therefore I used light colors for the :root, and darker colors for the .dark-mode. But if you want your website to be in dark-mode as default, just replace the light and dark colors.
This was the CSS part. Now let's jump into the JavaScript.
My next step was to toggle the .dark-mode class every time user clicks the button/checkbox.
I used JavaScript DOM eventListener() to do so.
First, select your checkbox/button using querySelector:
const btnDarkMode = document.querySelector("#btn-dark-mode");
Then declare a variable to get the key from the local storage:
let darkMode = localStorage.getItem("darkMode");
In local storage, we store items as key-value pairs. Here, we are just getting a reference of darkMode key, because we'll be adding this item later.
Now let's add an event listener for our button/checkbox:
btnDarkMode.addEventListener("click", darkModeEventHandler);
Here event listener takes two parameters, one is the type of event we want, which is a "click" event in our case, and second parameter is an event handler callback function, that'll run every time we click the button.
Now let's declare the callback function darkModeEventHandler(). Here's how I did it:
// enable dark mode function
function enableDarkMode() {
  btnDarkMode.checked = true;
  document.body.classList.add("dark-mode");
  localStorage.setItem("darkMode", "enabled");
}

// disable dark mode function
function disableDarkMode() {
  btnDarkMode.checked = false;
  document.body.classList.remove("dark-mode");
  localStorage.setItem("darkMode", disabled);
}

// event handler function
function darkModeEventHandler() {
  darkMode = localStorage.getItem("darkMode");
  if (darkMode === "enabled") {
    disableDarkMode();
  } else {
    enableDarkMode();
  }
}
Hold up! I'll explain what I just did, step by step. I used 3 different functions for more readability, and easy understanding. You can do it in a single function as well, like a psychopath.
So first I declared a function called enableDarkMode(), that'll run when I want to switch to dark mode.
Inside that function, first I added the class dark-mode to HTML body. This'll change the color scheme to dark.
Then I set the local storage key-value, i.e. key: darkMode and value: enabled. This'll add the dark mode in the local storage, so that when user refreshes the page, it'll stay in dark mode.
Now last, but not least, I set the checkbox status as checked.
So that if user visits another page, the checkbox icon stays the same.
You don't need to add this if you're using a button instead of a checkbox. I used checkbox because it was easier to style it.
Then I created another function called disableDarkMode, that'll change the color scheme back to default.
Here, I removed the dark-mode class from the body, then set the value of darkMode key as disabled in local storage, and finally unchecked the checkbox.
Now the most important part. I declared the event handler function that I used in the event listener.
Here, first I get the key from the local storage so that it updates the value of darkMode every time I click.
"But why, Aman?" Good question! So we've already declared the variable darkMode outside the function, and if we don't update it inside the event handler, it'll stick to the same value unless we refresh the page.
That's why we used let keyword to declare our variable, so that we could update it later. Now it'll update the variable every time the user clicks.
Next, I used conditional statements to check whether dark mode is enabled, or disabled. For this, I used the local storage key and value pairs.
If the value is enabled, that'll run the disableDarkMode() function, and if it's disabled, that'll run enableDarkMode() function.
That's it, right?
Well not so fast. Everything will work fine as of now, i.e. you can change the color scheme, and your local storage would update the value as well. But if you refresh the page after setting it to dark mode, it'll change back to light mode. That's because we haven't declared the condition that if the value of darkMode is set to enabled, it should enable it. The page will forget whether we've set the dark mode or not.
So we can add a conditional statement right before the event listener, like this:
if (darkMode === "enabled") {
  enableDarkMode();
}
This will tell the page that when it loads, it should enable the dark mode if it's value is set to enabled.
And voila! Now you've a dark mode in your website.
Cool, isn't it? Now try this with your website, and let me know how it worked out for you. 😊